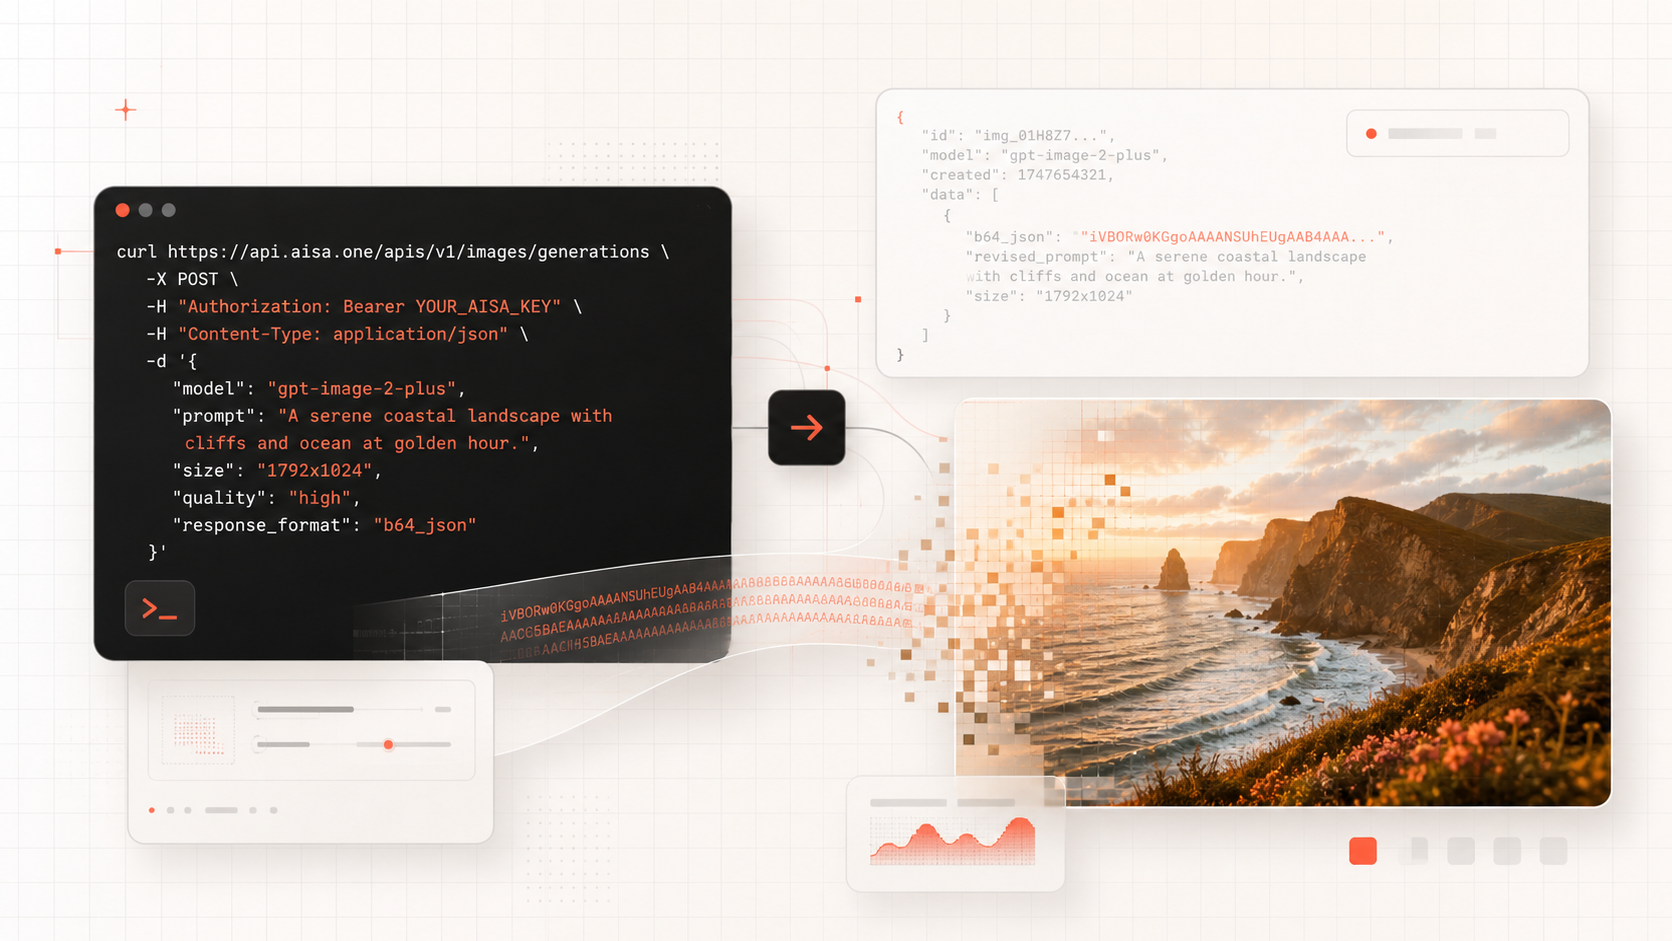
AIsa now supports gpt-image-2 and gpt-image-2-plus for image generation through the AIsa API. This tutorial shows how to generate an image with gpt-image-2-plus, save the API response, decode the image, and open the final output locally.
What You Will Build
By the end of this tutorial, you will have:
- Sent an image generation request to the AIsa API
- Used
gpt-image-2-plusas the image generation model - Saved the API response as a JSON file
- Decoded the returned base64 image into a PNG file
- Opened the generated image on your computer
Requirements
Before you begin, make sure you have:
- An AIsa API key
- A terminal environment
curlinstalledjqinstalledbase64available in your terminal
For Linux, macOS, or WSL on Windows, you can check whether jq is installed by running:
jq --version
If jq is not installed, install it with:
sudo apt install -y jq
Step 1: Export Your AIsa API Key
Before calling the AIsa API, export your API key as an environment variable.
export AISA_API_KEY="sk-your-api-key"
This allows you to use your API key securely in the request without pasting it directly into the command.
Important: Do not expose your API key in screen recordings, screenshots, public repositories, or shared files.
Step 2: Call the AIsa Image Generation API
Next, send a request to the AIsa image generation endpoint.
In this example, we are using gpt-image-2-plus to generate a cinematic, highly detailed image.
curl https://api.aisa.one/v1/images/generations \
  -H "Content-Type: application/json" \
  -H "Authorization: Bearer $AISA_API_KEY" \
  -d '{
    "model": "gpt-image-2-plus",
    "prompt": "Create an ultra-realistic cinematic storytelling image set inside a futuristic university classroom where Elon Musk is passionately teaching a room full of famous tech founders, CEOs, engineers, and billionaire innovators about building the future. The scene should feel like a historic private masterclass on artificial intelligence, space travel, robotics, energy systems, autonomous agents, and life on Mars. Show Elon Musk at the front of the classroom beside a massive transparent smart board covered with detailed diagrams of Mars colonies, reusable rockets, AI neural networks, humanoid robots, satellite constellations, autonomous factories, and interplanetary transport systems. Around the room, show realistic adult tech leaders and innovators listening, debating, taking notes, pointing at diagrams, sketching ideas on tablets, examining holographic Mars habitat models, and discussing future infrastructure. The image should be packed with action and meaningful micro-details: notebooks filled with rocket sketches, glowing 3D Mars terrain maps, robotic hands on a desk, miniature Starship-style rocket models, AI agent workflow diagrams, solar energy grids, red planet colony blueprints, autonomous rover models, equations on glass panels, laptops with engineering dashboards, coffee cups, cables, prototype parts, and intense facial expressions. Make the classroom feel premium, warm, intelligent, and believable, like a cinematic documentary photograph from the year 2035. Use dramatic but realistic lighting, sunlight entering through tall windows, soft shadows, warm highlights, deep depth, sharp faces, realistic skin texture, natural body language, real camera perspective, and high-end editorial photography quality. The mood should feel inspiring, intense, visionary, and full of movement, as if the most powerful technology minds on Earth are planning the next century. Avoid cartoon style, illustration style, plastic 3D render, wax faces, parody, meme energy, distorted hands, fake gibberish text, messy unreadable boards, excessive neon, cyberpunk city scenes, crypto coins, robots as mascots, childish sci-fi, and low-detail backgrounds. Make it photorealistic, cinematic, extremely detailed, action-filled, beautiful, serious, and visually rich enough that viewers can stare at it for a long time.",
    "size": "1024x1024"
  }' > future-classroom-response.json
What This Command Does
curlsends the request to the AIsa API.https://api.aisa.one/v1/images/generationsis the image generation endpoint.Content-Type: application/jsontells the API that the request body is JSON.Authorization: Bearer $AISA_API_KEYauthenticates the request with your AIsa API key."model": "gpt-image-2-plus"selects the image generation model."prompt"describes the image you want to generate."size": "1024x1024"sets the image size.> future-classroom-response.jsonsaves the full API response into a JSON file.
Step 3: Decode the Generated Image
The API response may return the generated image as base64 data inside the JSON response.
To extract and decode the image into a PNG file, run:
jq -r '.data[0].b64_json' future-classroom-response.json | base64 -d > future-classroom-elon-ai-mars.png
What This Command Does
jq -r '.data[0].b64_json' future-classroom-response.jsonextracts the base64 image data from the JSON file.base64 -ddecodes the base64 data.> future-classroom-elon-ai-mars.pngsaves the decoded image as a PNG file.
After this step, your generated image will be saved as:
future-classroom-elon-ai-mars.png
Step 4: Open the Folder and View the Image
If you are using WSL on Windows, open the current folder in Windows File Explorer with:
explorer.exe .
You should see both files:
future-classroom-response.json
future-classroom-elon-ai-mars.png
Open the PNG file to view your generated image.
Optional: Use gpt-image-2 Instead
You can also use gpt-image-2 instead of gpt-image-2-plus.
Simply change this line:
"model": "gpt-image-2-plus"
to:
"model": "gpt-image-2"
Use gpt-image-2-plus when you want higher-quality generations. Use gpt-image-2 when you want a standard image generation option.
Full Workflow Summary
# 1. Export your AIsa API key
export AISA_API_KEY="sk-your-api-key-here"

# 2. Generate the image and save the response
curl https://api.aisa.one/v1/images/generations \
  -H "Content-Type: application/json" \
  -H "Authorization: Bearer $AISA_API_KEY" \
  -d '{
    "model": "gpt-image-2-plus",
    "prompt": "Create a premium, photorealistic futuristic image about AI, space travel, autonomous agents, and the future of technology.",
    "size": "1024x1024"
  }' > image-response.json

# 3. Decode the image from the JSON response
jq -r '.data[0].b64_json' image-response.json | base64 -d > generated-image.png

# 4. Open the folder
explorer.exe .
Best Practices
- Keep your API key private.
- Use environment variables instead of hardcoding API keys.
- Save the API response to a
.jsonfile before decoding. - Use
jqto extract image data properly. - Use detailed prompts for more controlled image outputs.
- For official brand visuals, add logos and final text manually after generation for better accuracy.
Conclusion
With AIsa, you can generate images through a simple API call using gpt-image-2 or gpt-image-2-plus. The workflow is straightforward: send a prompt to the image generation endpoint, save the response, decode the returned image data, and open the final PNG.
This makes it easy for builders, creators, and AI agent developers to add image generation into their workflows through one unified API.